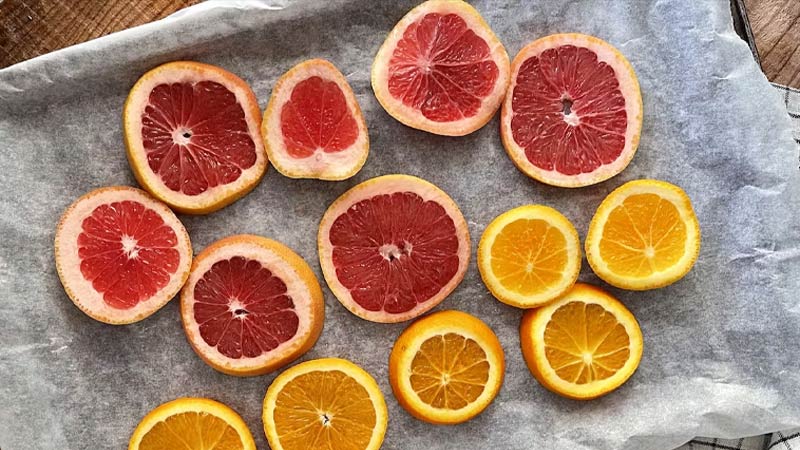
Dry fruits are not only tasty and nutritious but also convenient and versatile. drying fruit at home allows you to control the process, resulting in healthier, preservative-free snacks. In this article, we will dive into the art of preparing dried fruit at home and explore various storage methods to ensure long-lasting freshness.
Fruit Selection
Choosing the right and ripe fruit is crucial when preparing dry fruits. Opt for fruits that are ripe but not overly soft or mushy. Some popular choices include apples, apricots, bananas, berries, cherries, figs, and peaches. Additionally, consider the flavor and texture you desire, as each fruit has unique qualities that translate into its dried form.
Preparing the Fruit
Once you have selected your fruits, it’s time to prepare them for the drying process. Wash the fruits thoroughly, removing any dirt or debris. For larger fruits like apples or peaches, peel and core them before slicing them into thin, even pieces. With smaller fruits like berries or cherries, simply remove the stems and pits. For bananas, slice them into even rounds. Consider soaking fruits like apricots or figs in water or juice briefly to enhance moisture before drying.

Drying Methods
There are various methods to dry fruits at home, depending on your preference and the equipment available. Here are three popular techniques:
1- Oven Drying: Arrange the fruit slices on a baking sheet and set the oven to its lowest temperature. Leave the oven door slightly open to allow moisture to escape. Check the fruit periodically and rotate the trays as needed for even drying.
2- Dehydrator: Follow the manufacturer’s instructions for your dehydrator, as settings may vary. Arrange the fruit in a single layer on the trays and let the machine do the work. Dehydrators are efficient and provide consistent results.
3- Sun Drying: If you live in a sunny region with low humidity, sun drying can be an excellent option. Place the fruit on trays or screens in a well-ventilated area, ensuring protection from insects and dust. This method for making dry fruits can take several days, so patience is key.

Storage Methods
Proper storage is essential to maintain the flavor, texture, and nutritional value of your homemade dry fruits. Here are some effective storage methods:
1- Airtight Containers: Store dry fruits in airtight containers, such as glass jars or resealable bags. Ensure there is minimal headspace to prevent moisture absorption. Place the containers in a cool, dark pantry or cupboard.
2- Vacuum Sealing: Vacuum sealing removes excess air, extending the shelf life of dry fruits. Use a vacuum sealer or vacuum-sealable bags to package your dry fruits before storing them.
3- Freezer Storage: If you plan to store dry fruits for an extended period, consider freezing them. Place the fruit in freezer-safe containers or bags, removing as much air as possible. Freezing can preserve the flavor and texture for up to a year.

Conclusion
Preparing dry fruits at home offers a rewarding experience, allowing you to savor the goodness of natural snacks. With proper selection, preparation, and storage, enjoy the convenience and health benefits of homemade dry fruit all year round.

